Eliminate dropped chainsforever with the new OneUp Components Guide.As the trend for lower and slacker bikes continues, 'Little bikes' are getting more and more capable everyday. Revised for 2019 the OneUp Guide uses simple, one tool installation and adjus
Flash Sale Ongoing
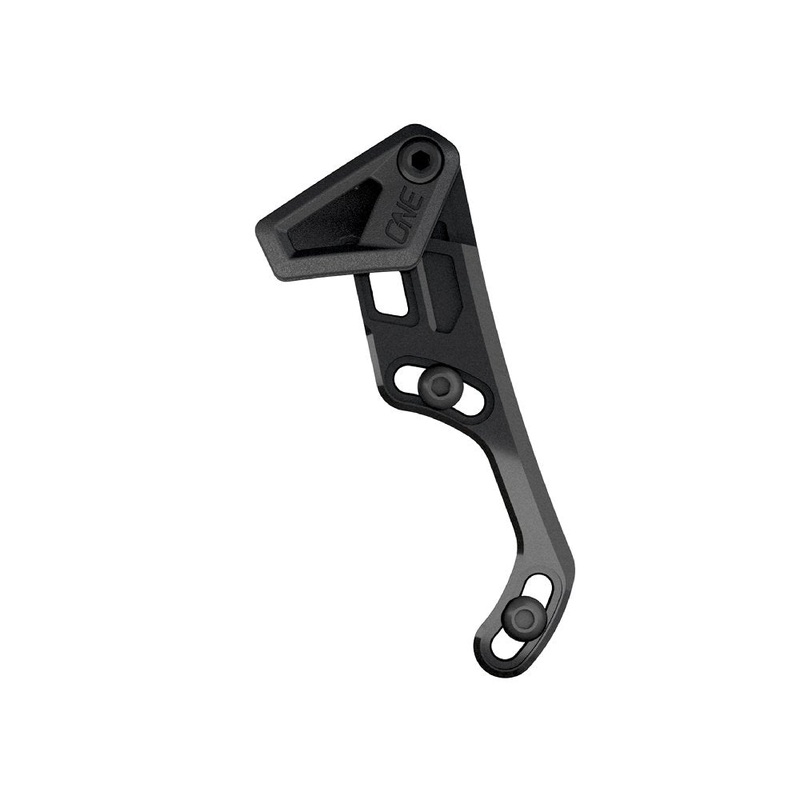
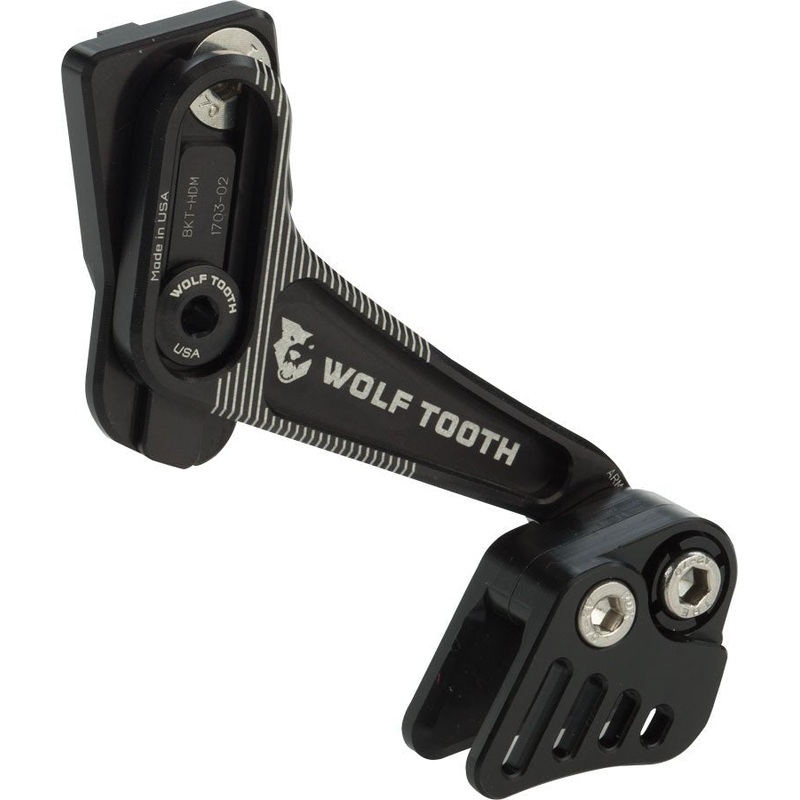
Eliminate dropped chainsforever with the new OneUp Components Guide.
As the trend for lower and slacker bikes continues, ‘Little bikes’ are getting more and more capable everyday. Revised for 2019 the OneUp Guide uses simple, one tool installation and adjustmentas well as anall newtool less flip
Atonly 40gthe OneUp ChainGuideweighs less than a sip of water.
NW rings are awesome, but they’re not perfect and every once in a while you can drop achainwhile riding. On a social ride this means getting dropped by your friends. But when racing an Enduro a droppedchaincan cost you the podium, which is why almost every EWS pro runs both achainguideand narrow wide chainring.
Weight:40g
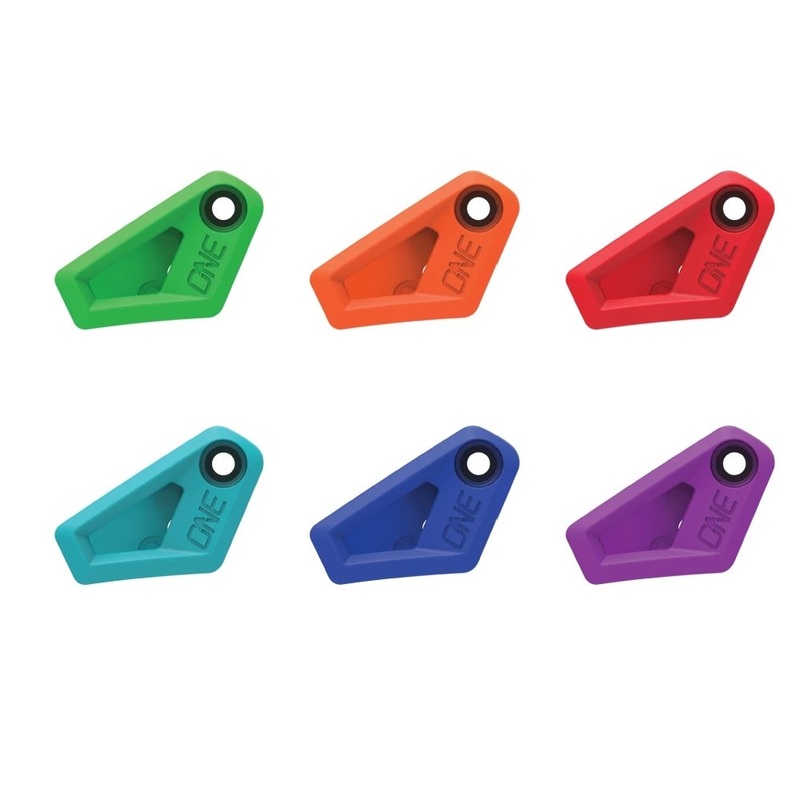
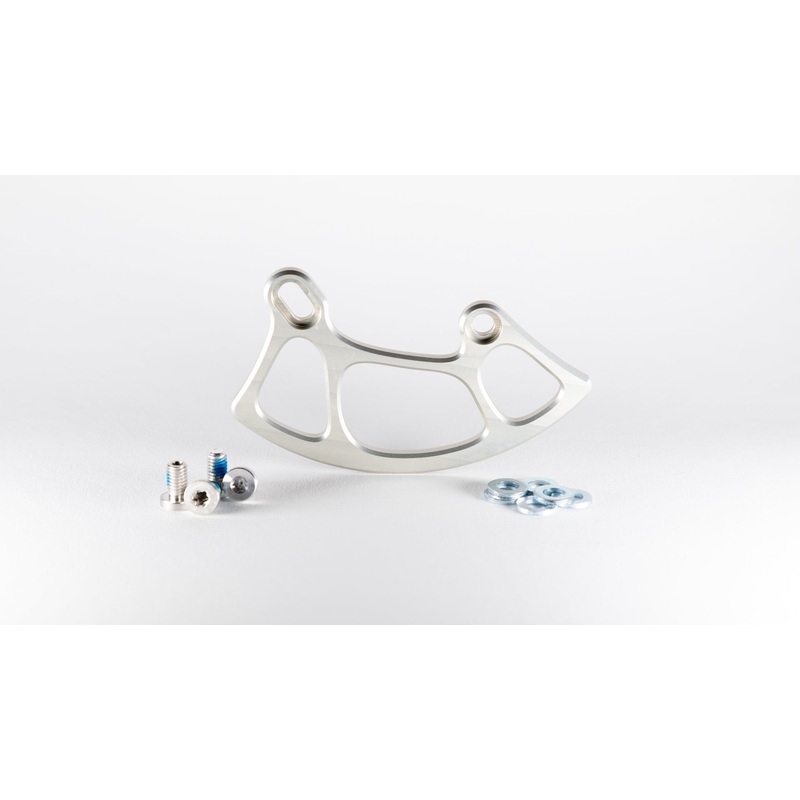
Capacity:26-38TChainline:7.5mm adjustmentMount:ISCG05Color:Black top guide piece includedMaterial:7075 aluminum, top guide glass reinforced thermoplastic
1. Remove top guideby removing the front top guide nut with a 4mm hex (never adjust the rear T25 bolt).2. Set slider in the highest position
3. Hold backplate directly against ISCG05 tabs.Check for clearance between the back side of the guide and the bike frame (use included 2.5mm spacers ifnecessaryto space the backplate away from the frame).4. Rotate backplate untilslider adjustment bolt is directly above the crank axle and torque bolts to 5Nm
5. With crankset and chain installed, use spacer shim block to measure clearance between back plate and chain
6. Determine the corresponding number of chainline shims required
7. If more than 5 shims are required, install the supplied 2.5mm washers behind the backplate and return to step 2
8. Assemble top guide with spacers and tighten bolt to 3Nm9. Insert a 4mm hex through the hole in the inner top guide, loosen height adjustment bolt and lower the tool onto the chain. Torque to 3Nm to set heigh
Reviews
There are no reviews yet.